

| Tech Tip (LISTSERV Maestro) – Issue 1 – 2007 Q: How can I accommodate recipients who prefer HTML and recipients who prefer text messages in a single job? Answer by Holly Taylor Recipient data can be collected so that you know the format that each recipient prefers to receive. Once collected, this data can be used to send the preferred format to each recipient, all within the same job. For this to happen, a conditional statement needs to be set up so it can run against the recipient data. Using conditional content makes it possible to prepare a single job for recipients who prefer HTML and for those who prefer plain text, respecting each recipient's choice as well as saving time and reducing the risk for errors that may occur when sending multiple jobs. To create a job that handles the conditions described above, simply create the message with the conditional content feature enabled, and then compose the message with both HTML and plain text parts. Creating the Message To create a message that can be sent to recipients who prefer HTML and for those who prefer plain text, go to the Define Message screen for the job. At the top of the screen, select the HTML with Alternatives and the Text Format options.
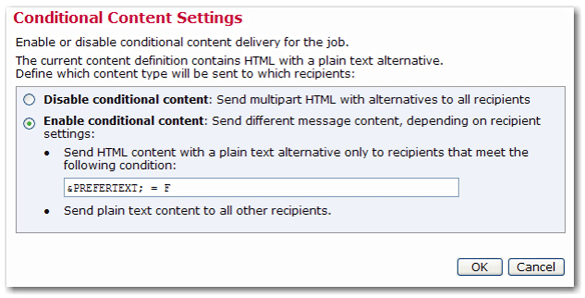
Enabling Conditional Content In order to use the Conditional Content feature, it must first be enabled. To enable Conditional Content, click on the Change link that appears directly under the tabs of the text box on the Define Message screen when HTML with Alternatives is selected. The Conditional Content Settings screen opens. Select the Enable conditional content option. Once enabled, it is necessary to type in the condition that determines which recipients receive which type of mail. LISTSERV Maestro uses the standard LISTSERV syntax to create the condition. See the LISTSERV Maestro User Guide [1] for more information on constructing conditions. The condition needs to include at least one merge field from the recipient data so that the condition acts like a variable whose true/false result is different for those recipients receiving each of the different message formats. If a recipient fulfills the condition, then the full HTML email including the plain text alternative is delivered to that recipient. If the recipient does not fulfill the condition, then a simple plain text email is delivered instead, containing only the plain text alternative.
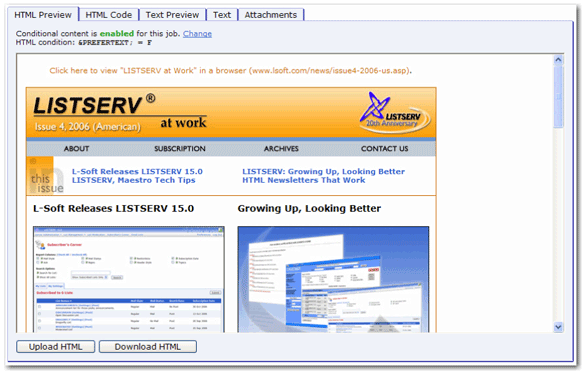
Composing the HTML Message There are several ways to compose HTML messages in LISTSERV Maestro:
HTML messages can be created locally in any HTML editing program and uploaded to LISTSERV Maestro. To upload an HTML file from a local drive:
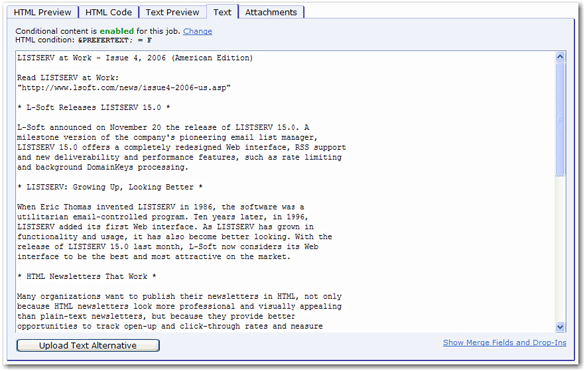
Notes: The LISTSERV Maestro applet will also check to ensure internal and external references to linked or embedded image files are valid. Linked files are not sent with the message; embedded files are sent with the message. One advantage of using linked files is that the message will be smaller. However, a live Internet connection is necessary to view linked files. If the image server is down, they will not be visible. In addition, some firewalls strip HTML messages that contain links to outside sources thus rendering the image invisible. Embedded files, on the other hand, will be visible without a live Internet connection and if the image server is down. They will make the message larger, but they will not, in most cases, be stripped from the message by a firewall. Consider the use of images, linked or embedded, carefully to avoid complications for the recipients. Any invalid links will be counted as errors and will be reported in the Load Results dialog box. If [Yes] is clicked, then LISTSERV Maestro will continue uploading the HTML file even if it contains link errors. The error report is only a warning to remind the user that there are currently problems, but the upload is not suspended. The reason that uploads are not halted when the HTML contains errors is that the linked files simply may not be available yet. Sometimes, referenced web sites are under development or are being updated as the email message is being created. Once the linked site is complete, the message will be valid and can be sent out. Adding Alternative Text to an HTML Message To add a plain text alternative to an HTML message, click on the Text tab. The text part of the message can be uploaded, pasted, or typed directly into the box. To upload a text file from a local drive:
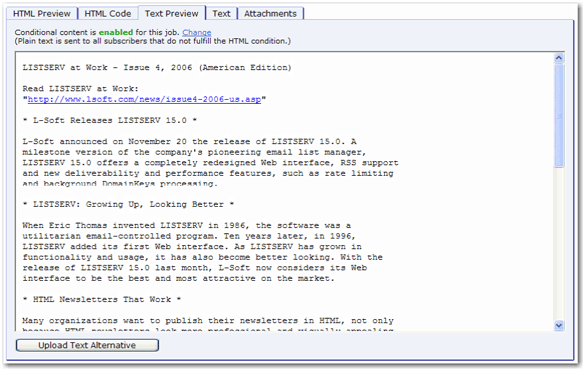
Note: If drop-in content has been enabled, then you can click the Text Preview tab to see what the message looks like to recipients. Any drop-in content elements will be automatically added into the body of the text message. (See the LISTSERV Maestro User Guide for more information on drop-in content. [2])
Tip: For more information concerning this topic, see "Preparing LISTSERV Maestro Mailings Based on User Preferences" [3]. References [1] [2] LISTSERV Maestro User Guide [3] White paper: "Preparing LISTSERV Maestro Mailings Based on User Preferences" |


